After successfully deploying vIDM in the last blog, now its time for the initial \essential configuration to prepare vIDM before deploying the rest of the vRealize Suite products that will integrate with it.
1- Login and configure SMTP
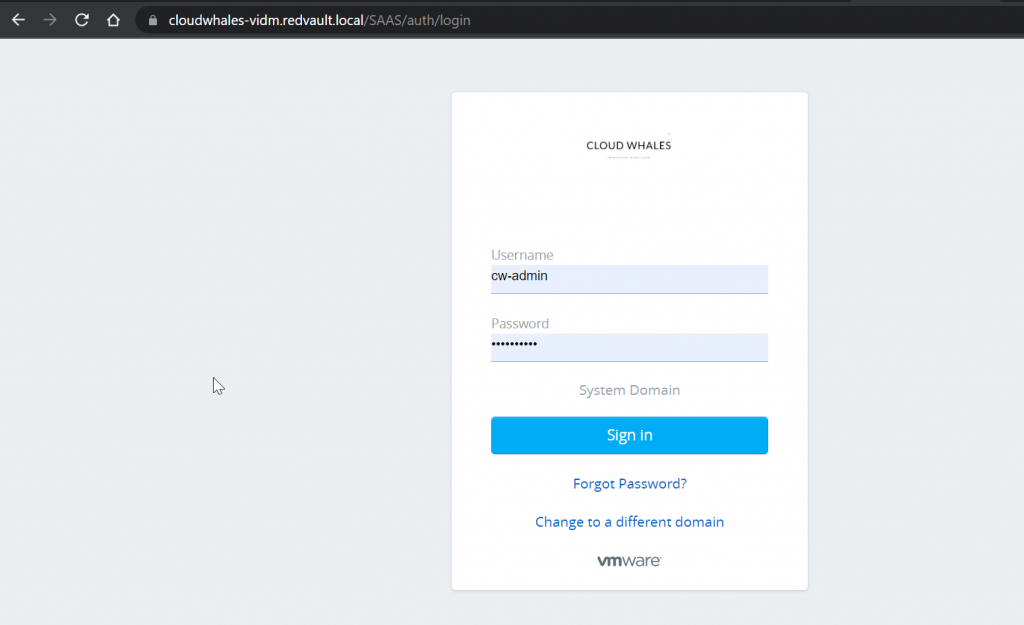
Open on any browser with vIDM FQDN, and log in using System Domain admin user that was created during the installation process.
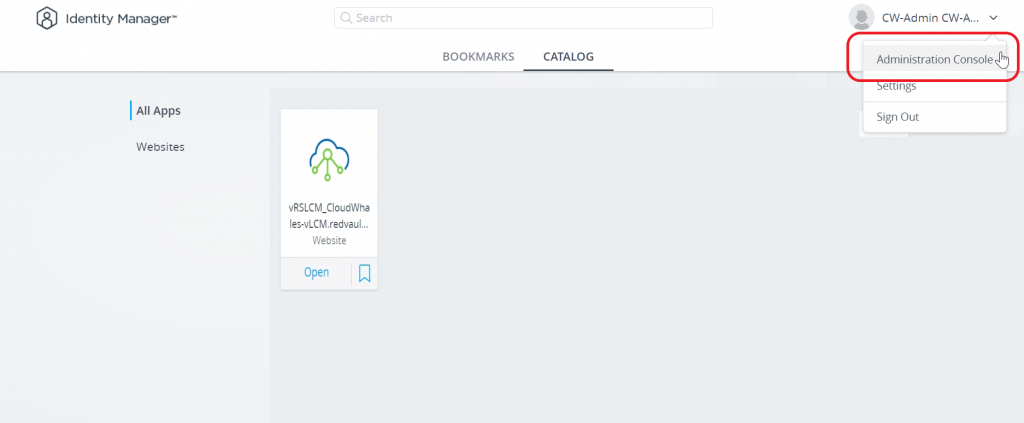
Next Open Administration console to start configuring vIDM
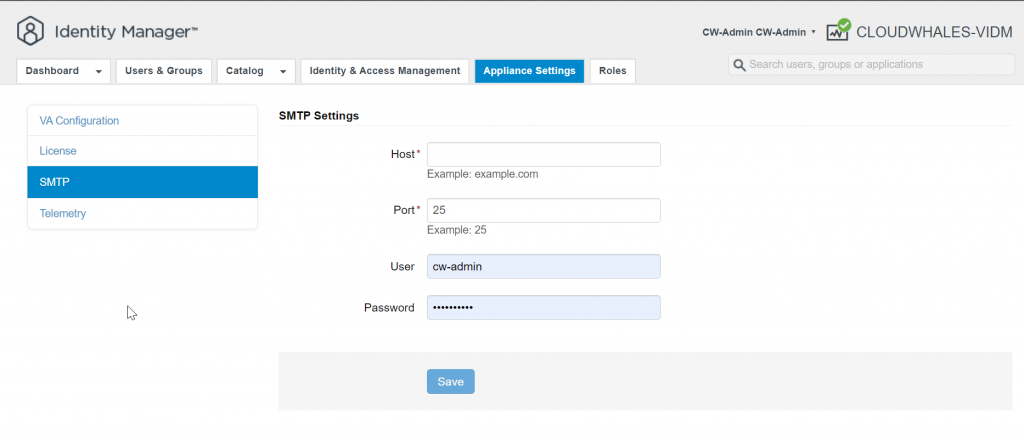
Under the Appliance Settings tab, we can configure SMTP
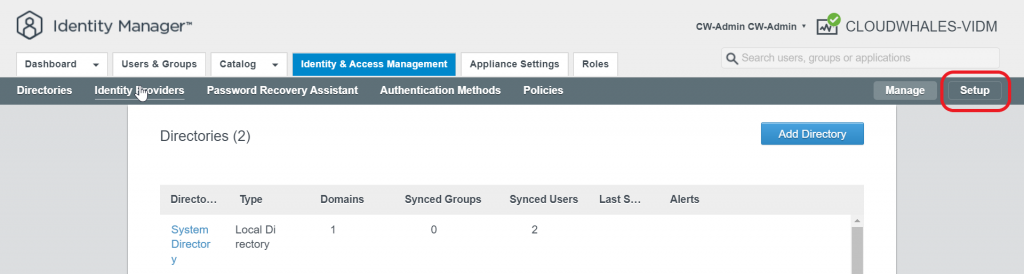
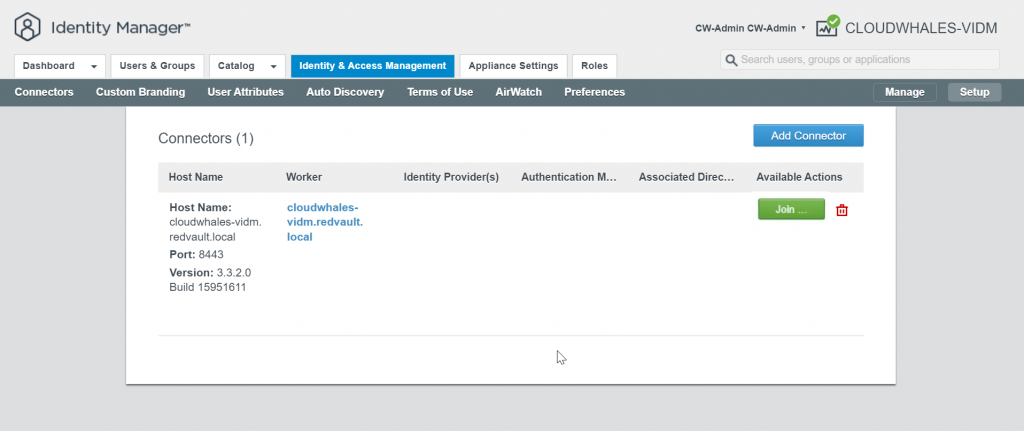
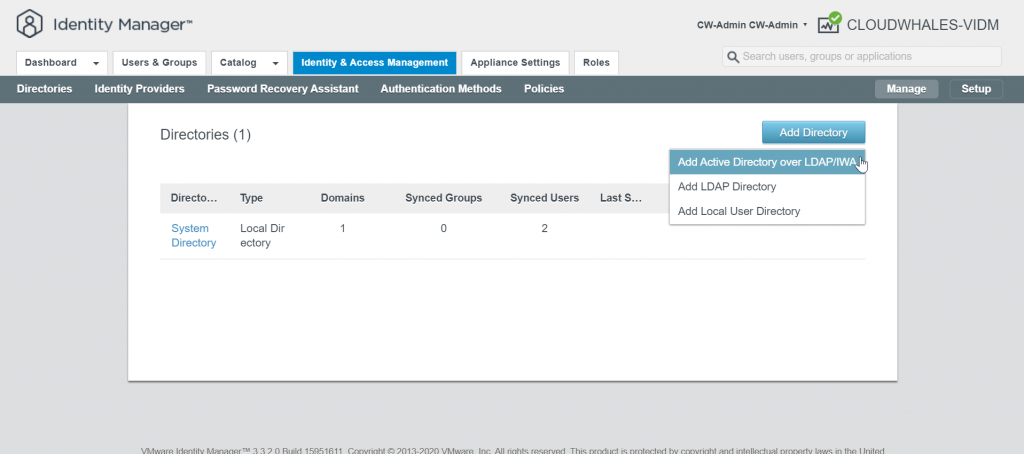
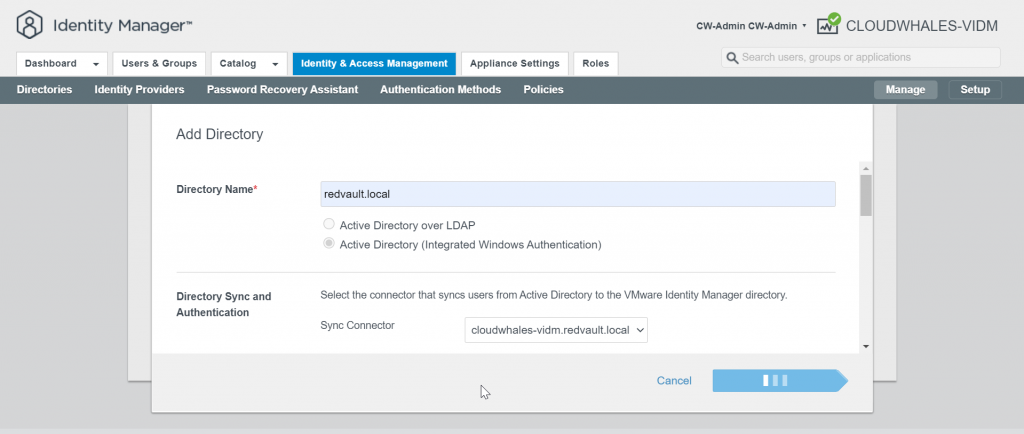
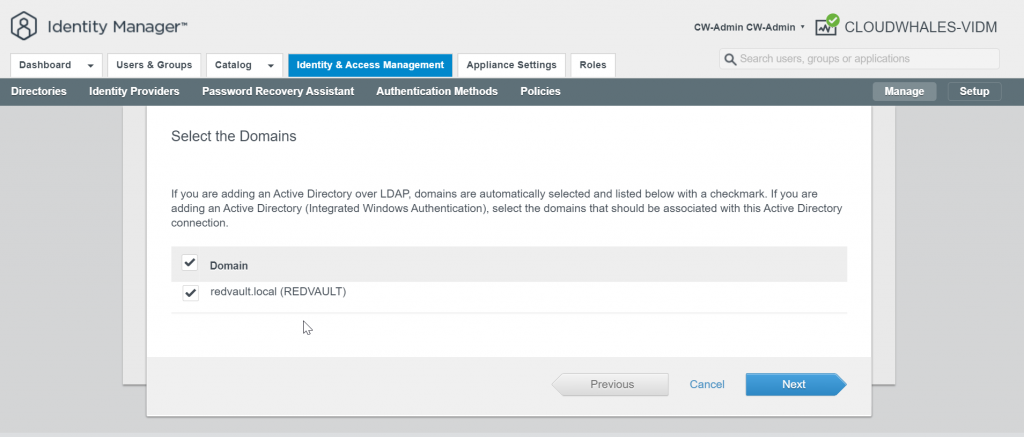
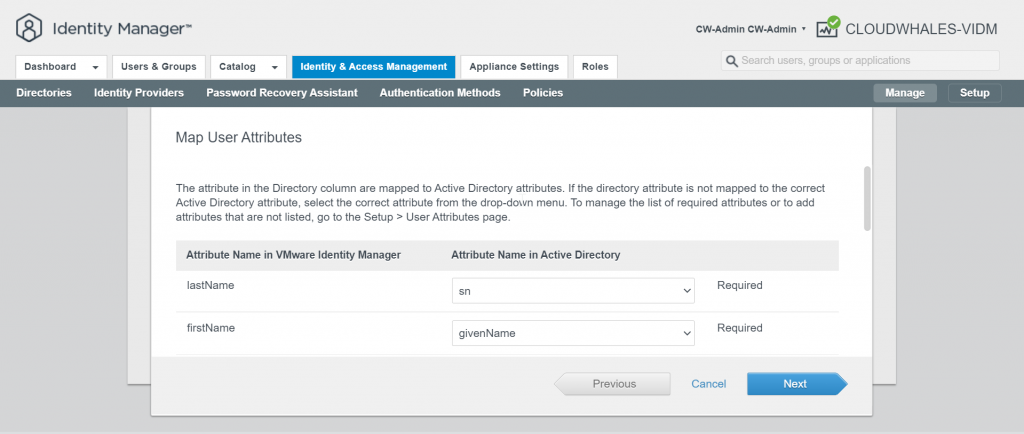
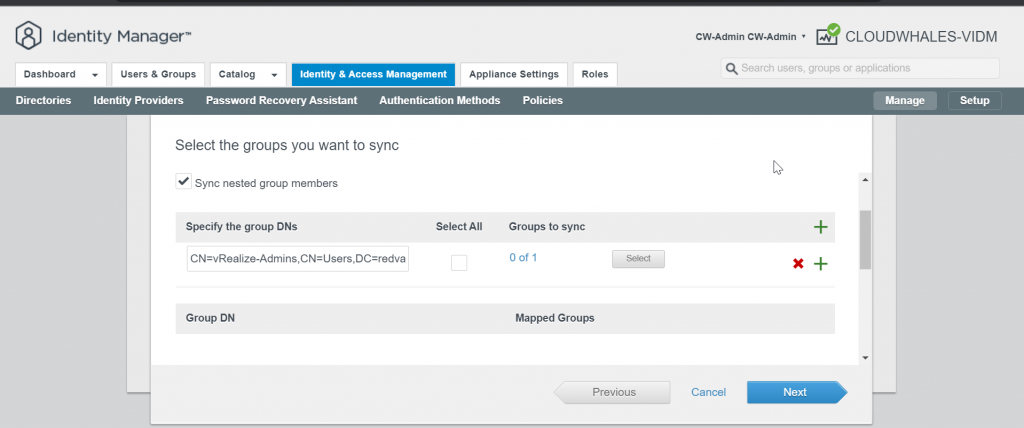
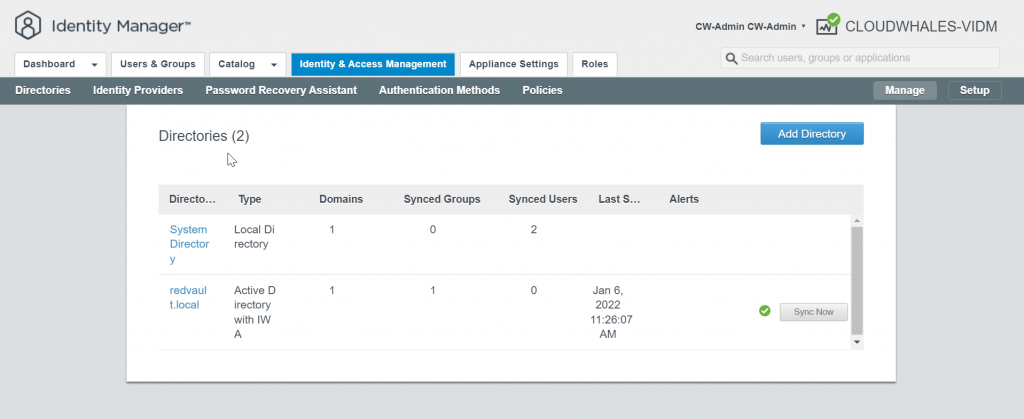
2- Add AD as an identity provider
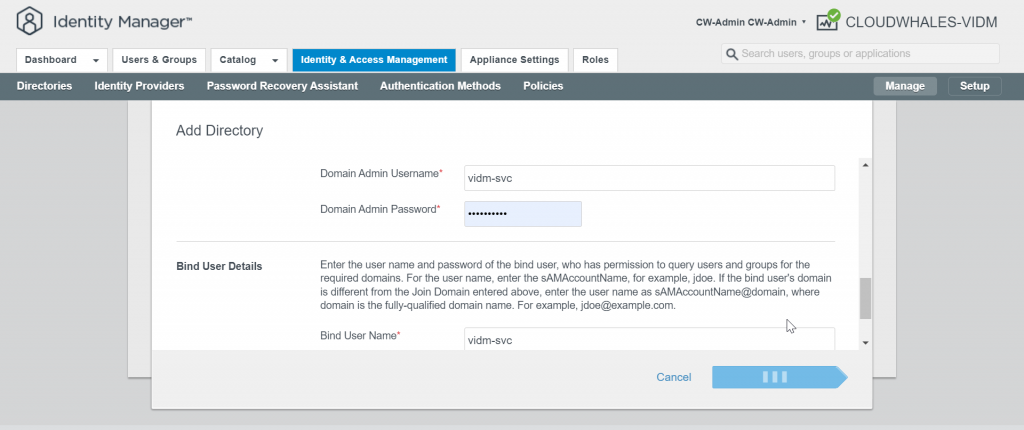
First, we will require an active directory service account to join vIDM connector to the AD
VIDM Connector is VIDM component that provides directory integration for user authentication and integration. One VIDM connector is 1-to-1 mapping per domain. VIDM appliance is shipped with an internal connector, also can be deployed as an appliance or can be installed on a windows machine.
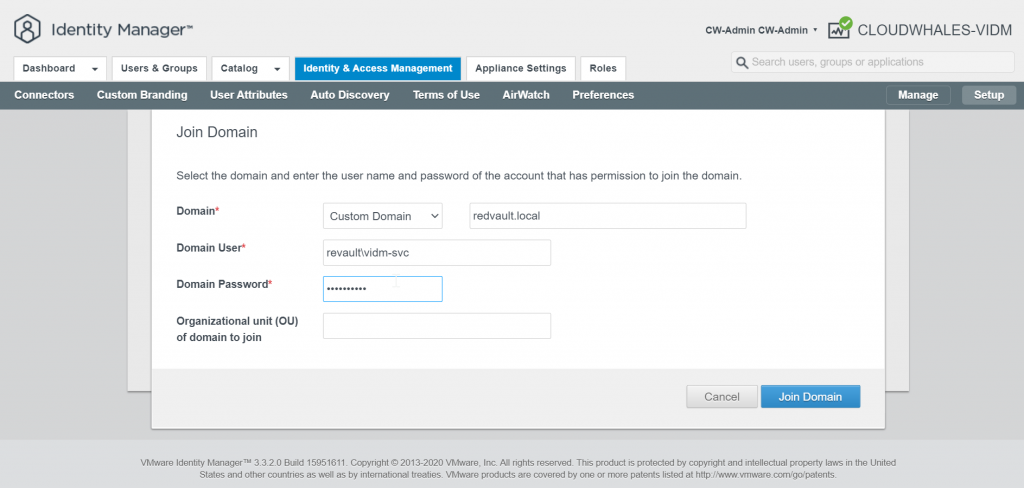
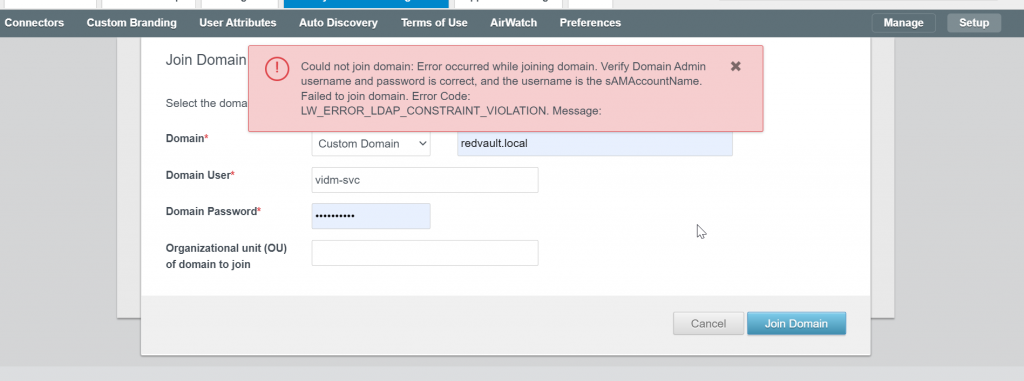
The service account needs a delegation to create/delete objects in Computers OU in AD.
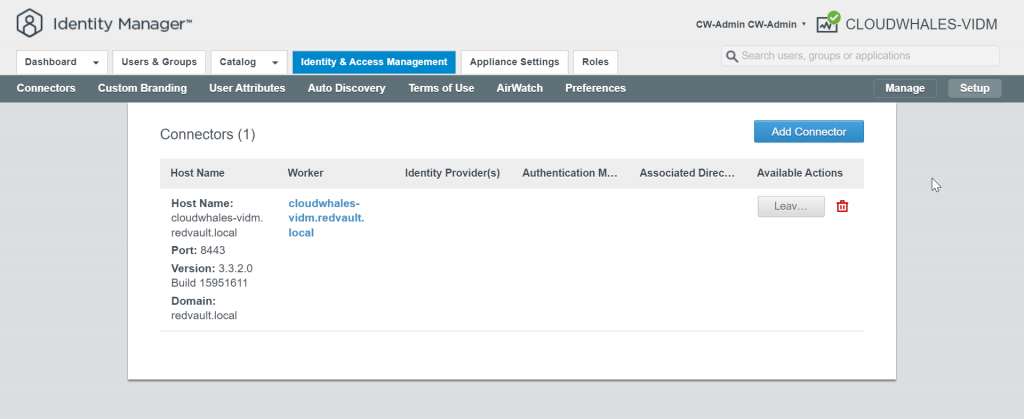
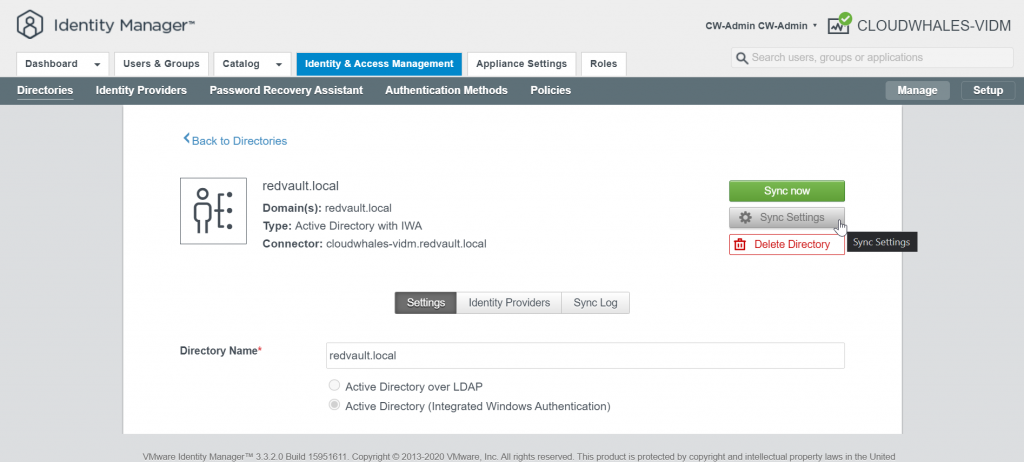
Go back to Manage mode
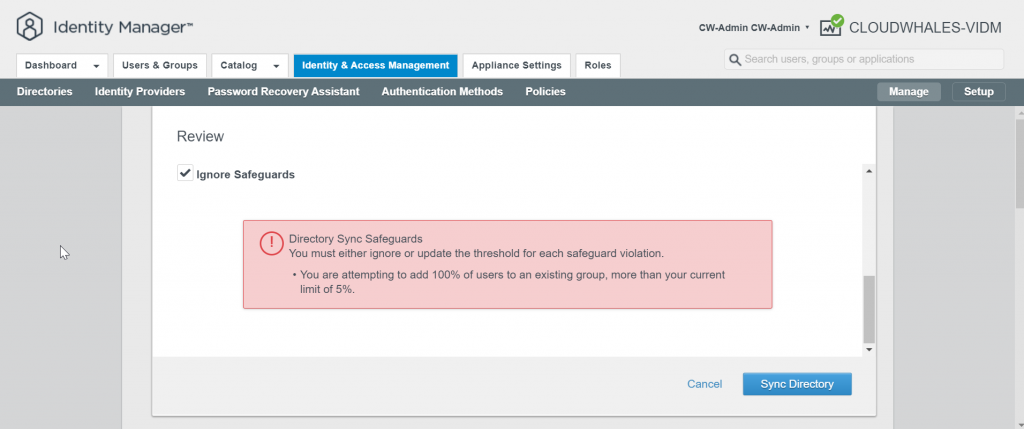
You can Ignore Safeguard manually for this instance only or change the sync setting
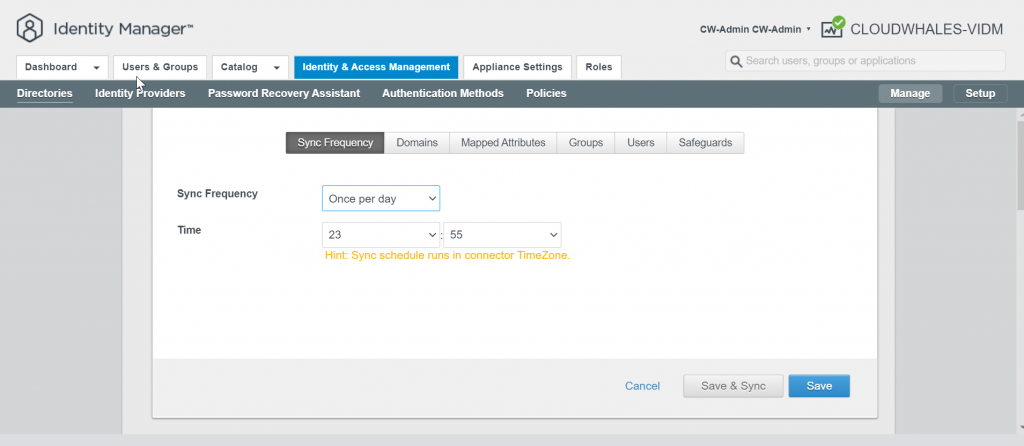

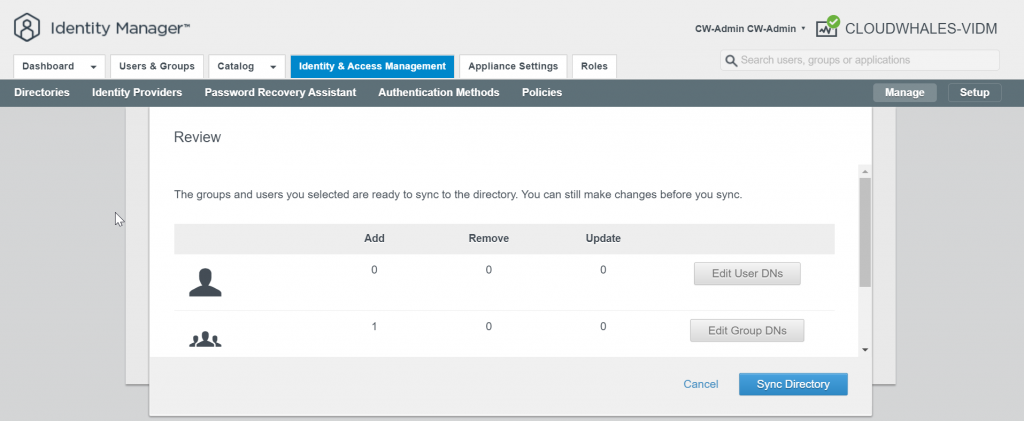
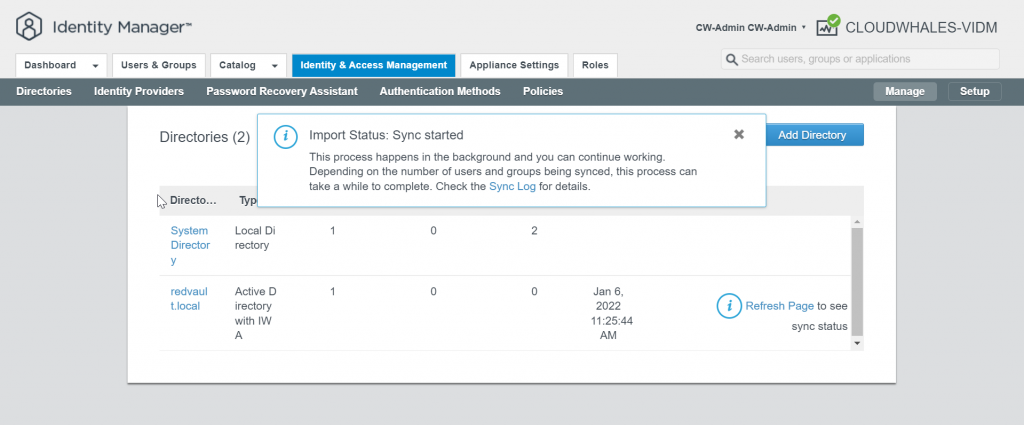
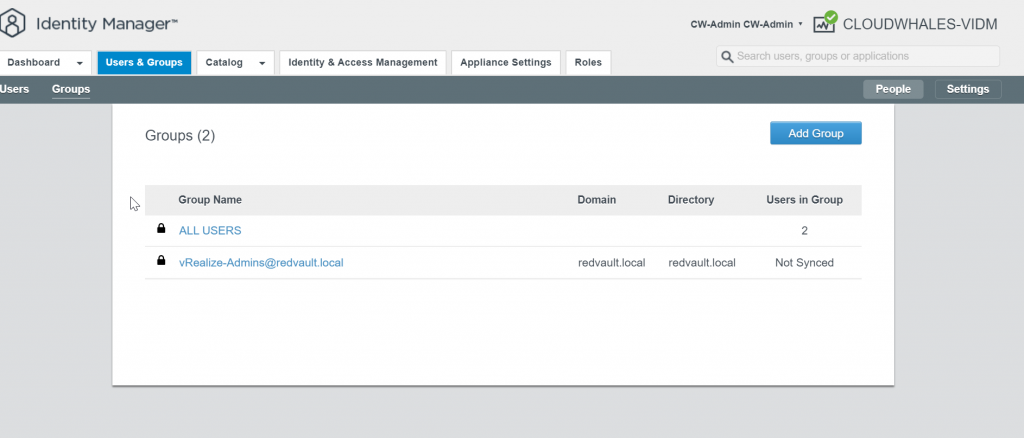
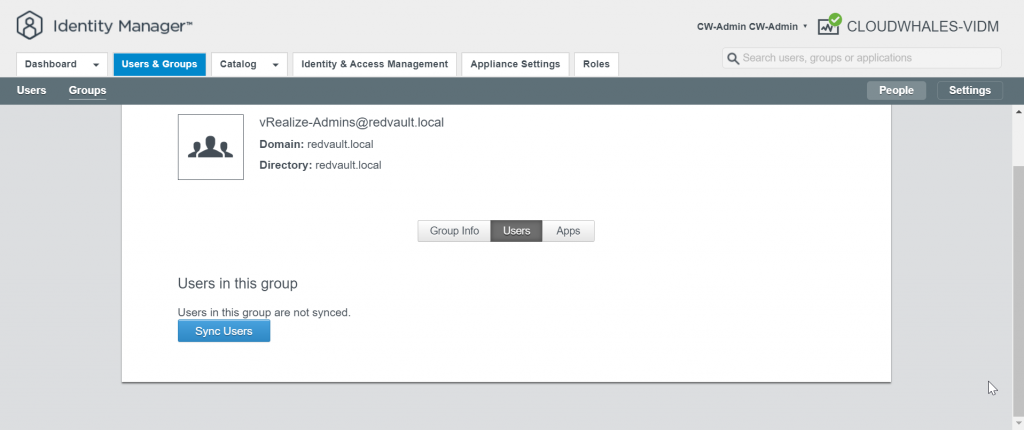
Group users are synced now and can log in with AD user
vIDM custom branding
Here will customize user login experience with the company’s name and logo
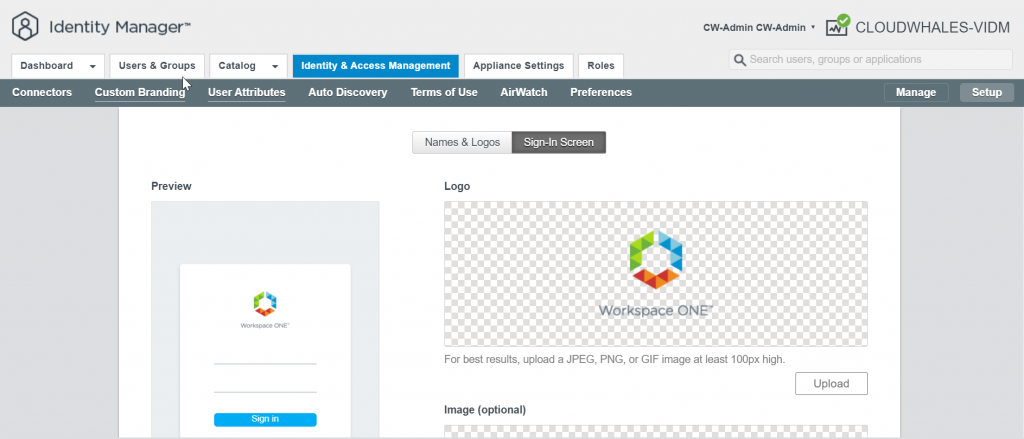
Custom Branding is located in setup mode of the Identity & Access Management tab
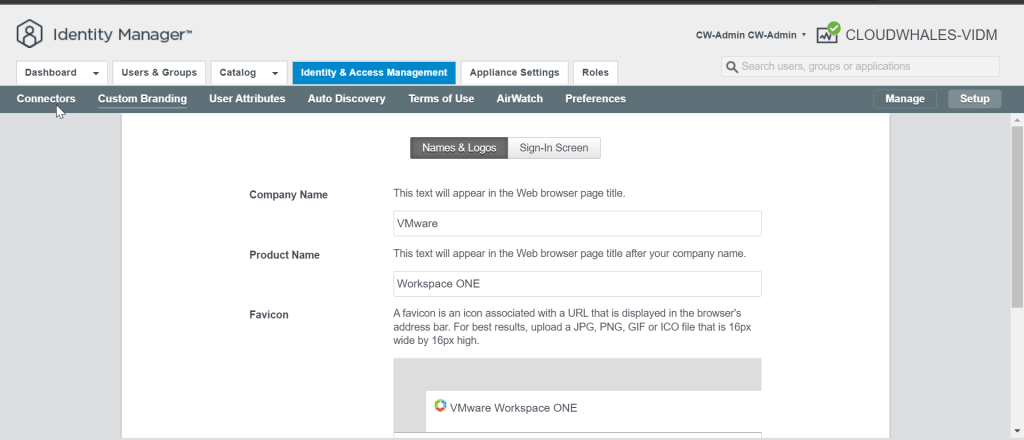
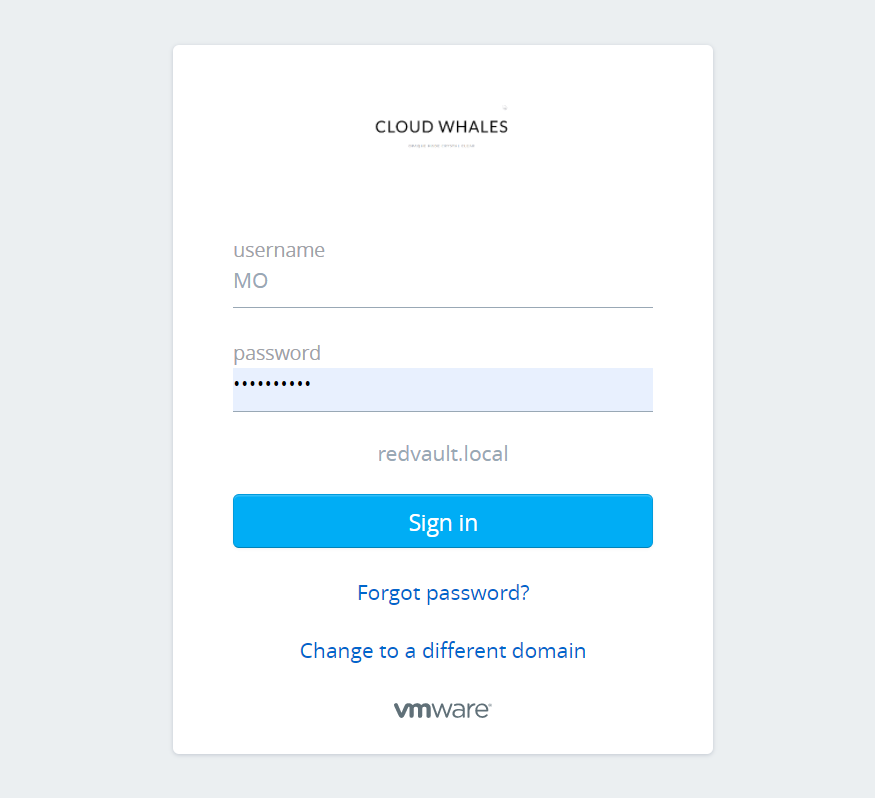
Here I’ve changed the web browser title with CloudWhales (company name) | Identity Manager (Product Name)
logo can be also changed but I opted not to change it
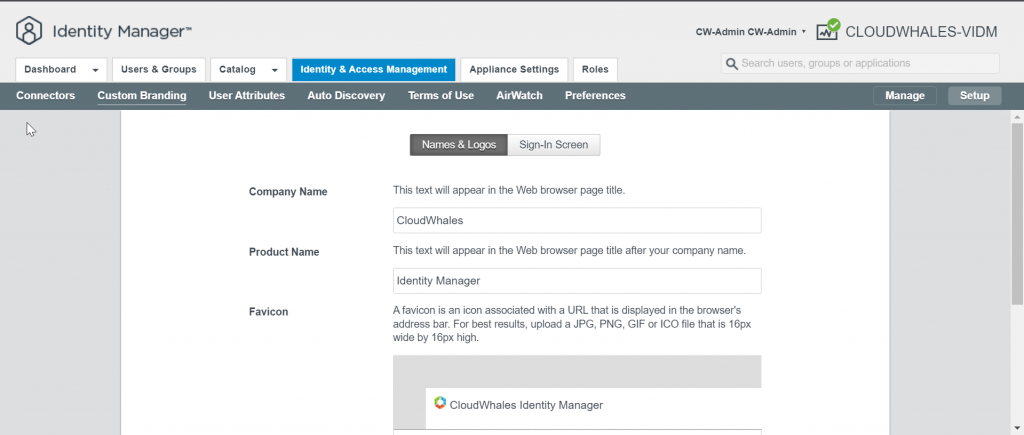
Next tab is Sign-in Screen logo
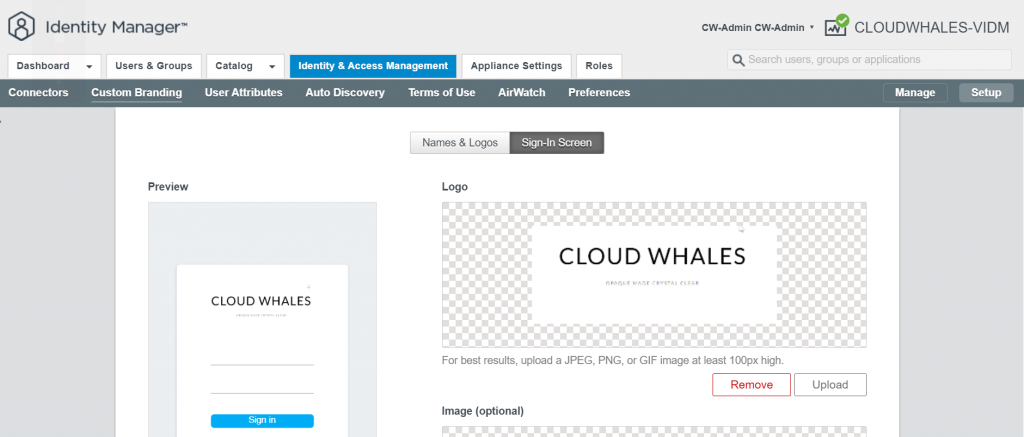
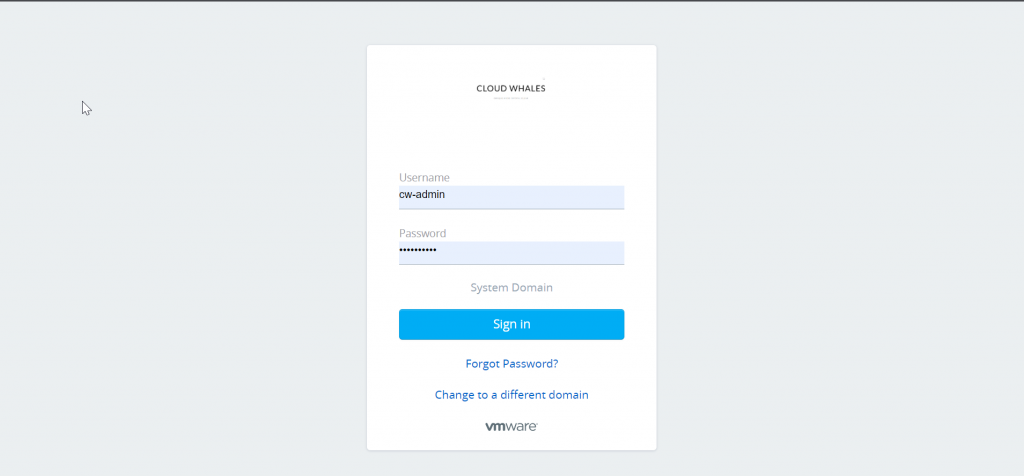
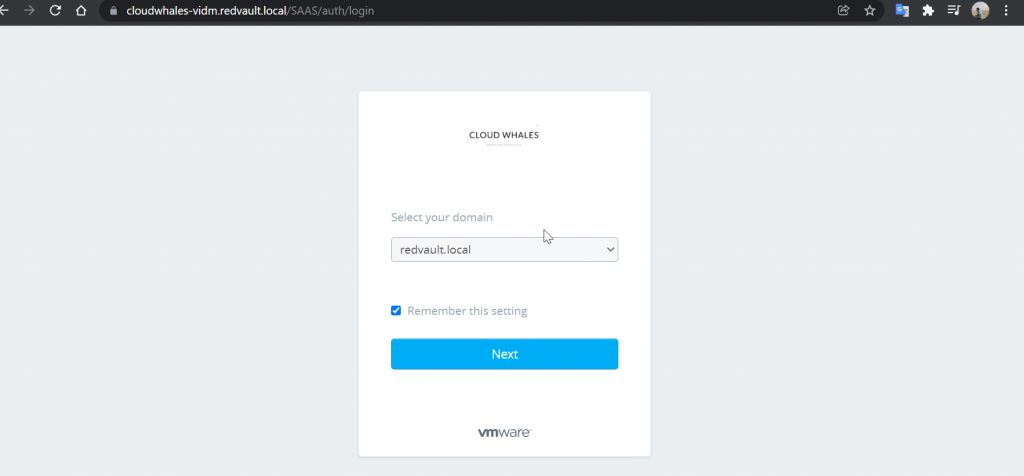
Now we can check log in experience after changing to custom branding
Next up is deploying the rest of vRealize Suite products, will start with vRealize Automation
Written by,
Amr Abdelshafi

Solutions Architect – Cloud & Infrastructure